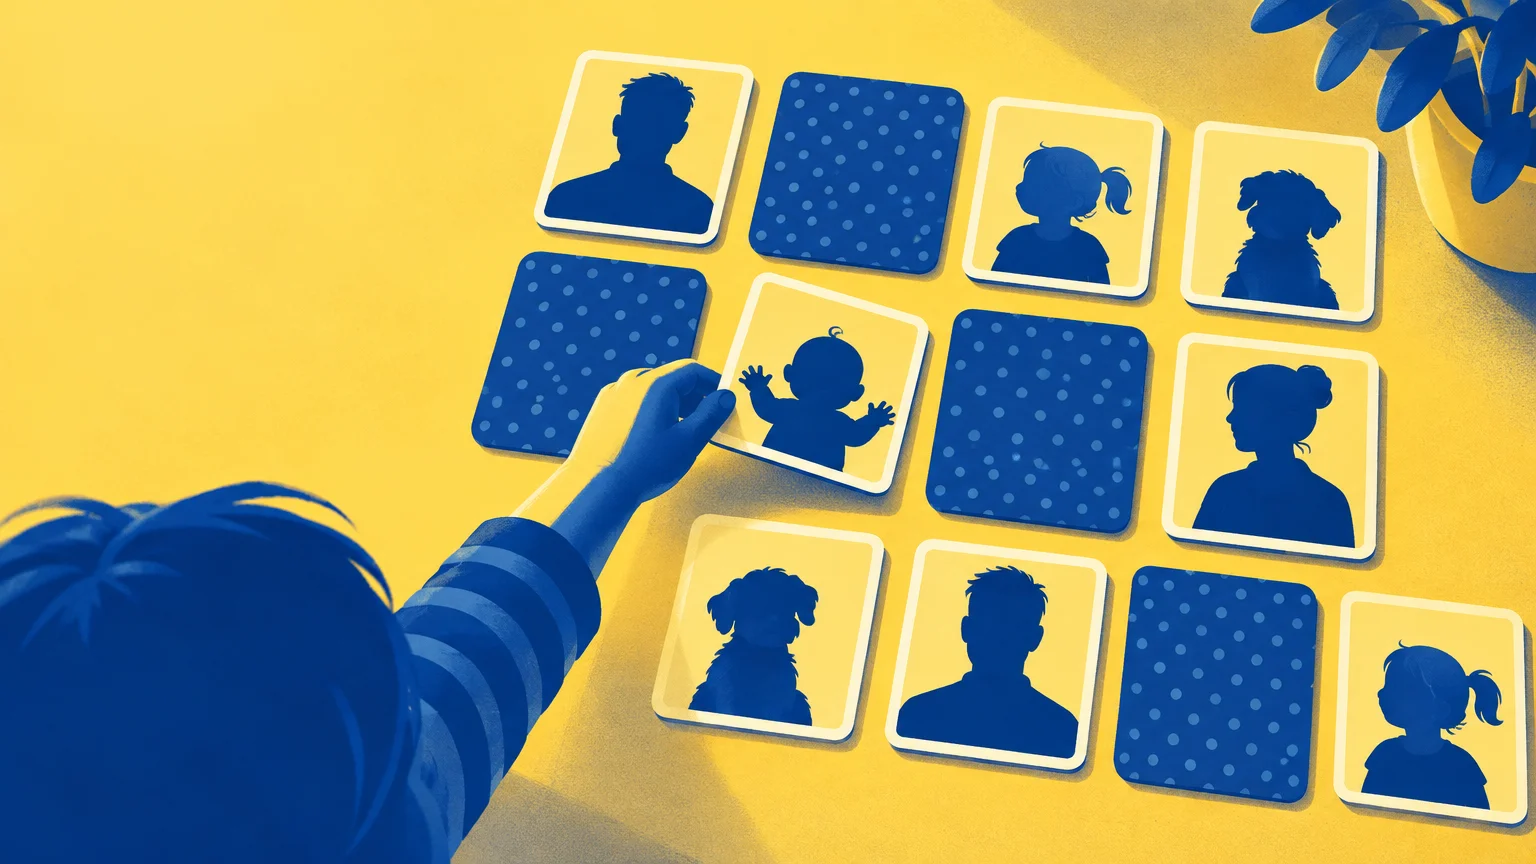
TLDR: To make a family photo memory game printable, choose six clear photos, place two copies of each in a 12-card layout, add identical opaque backs, print, cut, and arrange the cards face down. Start with only three or four pairs if the full set feels frustrating. Cards around 2.25 inches square are a practical starting size, but your printer, paper, and child’s handling needs should guide the final choice.
A personalized matching game does not require advanced design skills or a giant stack of supplies. Familiar faces make the cards inviting, while a small, carefully chosen set keeps the first game manageable. You can build the printable in a presentation app, word processor, photo-layout program, or any design tool that lets you crop images into equal squares.
What you need for a family photo memory game printable
- Six clear digital photos for a 12-card starter game
- A document or design app with shapes, tables, or photo frames
- U.S. Letter or A4 paper supported by your printer
- A printer and a test sheet of ordinary paper
- Scissors or a paper trimmer
- Opaque paper, a printed card-back sheet, or backing material
- Optional self-adhesive laminating sheets or a laminator
- An envelope, zip pouch, or small box for storage
Before buying cardstock or photo paper, check the supported media in your printer manual. Printer capabilities vary by model. For example, Canon lists cardstock, matte photo paper, and glossy photo paper among the supported media for one PIXMA model, but that does not mean every printer accepts the same materials or thicknesses.
Choose photos that will be easy to match
The best cards show one recognizable subject: one person, one pet, or one familiar object. A close crop of Grandpa’s face will usually be easier to distinguish than a wide group photo taken across a crowded room. Bright, evenly lit images also tend to reproduce more clearly than dark pictures or tiny screenshots.
Try to make the images different from one another. Six headshots taken against the same wall may be harder to sort than a set featuring Grandma, a dog, a red front door, a favorite teddy bear, a family car, and a birthday cake. The goal is not to make every card visually identical in style. It is to make each pair recognizable while ensuring its two copies match.
For a simple family set, consider these photo groups:
- Parents, grandparents, siblings, cousins, and caregivers
- Family pets or familiar neighborhood animals
- Favorite toys, blankets, or household objects
- Photos from one vacation or celebration
- Baby photos paired with duplicate baby photos
- Relatives who live far away and are not seen every week
Build a simple 12-card printable sheet
On U.S. Letter paper, create a three-column by four-row grid. Set each card to approximately 2.25 inches square. Twelve cards at that size occupy a 6.75-by-9-inch area before adding gaps, which fits within an 8.5-by-11-inch page. If your program adds table padding or your printer needs wider margins, make the cards slightly smaller rather than allowing the outside edges to be clipped.
Place each photo twice. A six-photo set should therefore contain 12 cards: two Grandmas, two dogs, two teddy bears, and so on. Crop every duplicate in exactly the same way. Add a thin cut line around each square, but keep important faces away from that line so a slightly uneven cut does not remove a chin or hairstyle.
If your design program uses pixels, a 2.25-inch square corresponds to 675 by 675 pixels at 300 pixels per inch. That calculation can be a helpful export target, although a larger original photo is preferable to enlarging a tiny image. If your pictures look fuzzy on screen or in the test print, the guide to image resolution, file types, and sizing explains the basic settings that affect print sharpness.
| Setup choice | Practical starting point | Why it helps |
|---|---|---|
| Number of pairs | Six pairs | Fills one 12-card sheet and provides a useful starter set |
| Card size | About 2.25 inches square | Large enough for a clear face while remaining easy to arrange |
| Photo style | One clear subject per image | Reduces confusion caused by busy backgrounds |
| Card backs | One identical, opaque design | Stops children from identifying cards before turning them |
| Storage | One labeled envelope or pouch | Keeps all matching pairs together between games |
Make every card back look the same
Card backs matter more than decorative perfection. If a dark photo can be seen through thin paper, the game becomes a guessing exercise based on shadows. Hold a test card in front of a bright window or lamp. If you can identify the picture, add an opaque back.
One option is to print a second page with the same simple pattern in every card position, then attach it behind the photo sheet before cutting. You can also glue the printed sheet to a single piece of colored cardstock. Whichever method you choose, assemble the full sheet before cutting so all cards remain the same size.
Avoid backs with directional clues unless every card is cut and aligned consistently. A large arrow, off-center sticker, or noticeably different glue mark can reveal a card’s identity. Tiny repeated dots, stars, stripes, or a solid color are more forgiving.
Print, test, and assemble the cards
- Print one draft on ordinary paper. Confirm that all 12 cards appear at the intended size and no faces are cropped incorrectly.
- Check the print settings. Use actual size or 100% scale when exact card dimensions matter; a fit-to-page setting may shrink the layout.
- Print on a media type your printer supports, or mount an ordinary-paper print onto sturdier backing.
- Attach the opaque backing while the cards are still in one sheet.
- Let ink and adhesive dry fully before trimming.
- Cut along the outside lines, then separate the rows and columns.
- If desired, laminate the cards and trim them again, leaving a sealed border around each card.
- Round sharp corners if the finished materials or cutting method leave uncomfortable points.
- Count the cards before labeling and storing the set: every picture should have one matching partner.
Plain paper is suitable for a quick trial, but it bends easily and may show the pictures through the back. Cardstock can feel sturdier if your printer supports it. Photo paper may give pictures a brighter finish, although it can still need an opaque backing. Lamination is useful for a frequently handled set, but it adds time, cost, and thickness. There is no need to laminate a one-afternoon activity before you know whether the card size and photo choices work.
Loose game pieces and craft supplies require sensible supervision. The U.S. Consumer Product Safety Commission advises keeping toys with small parts away from children younger than three and following product age guidance. Review the CPSC’s toy-safety guidance when choosing materials for very young children.
How to play the family photo matching game
Shuffle the cards and place them face down in tidy rows. On each turn, a player turns over two cards so everyone can see them. If the pictures match, the player keeps the pair or places it in a shared match pile. If they do not match, turn both cards face down again in their original positions. Continue until every pair has been found. This two-copy, two-card matching structure is also used in Gryphon House’s photo-memory activity.
For a cooperative first round, skip scores entirely. Let everyone work together to find all the relatives, pets, and objects. Adults can model useful language without giving away the answer: “We saw the dog near this corner. Which two cards should we check?”
Play can support several areas of young children’s development, but the activity should still fit the child’s interests and emerging abilities. The NAEYC principles of developmentally appropriate practice emphasize both the value of play and the importance of appropriately challenging experiences. That is a better guide than assigning one fixed pair count to every child of a particular age.
Adjust the difficulty without rigid age rules
If a child is new to matching games, begin with two or three pairs placed face up. Ask the child to put identical pictures together. Next, turn those same cards face down and play a short round. Add another pair only when the current set feels comfortable.
For an easier game, use fewer pairs, arrange cards in straight rows, choose visually distinct images, or leave the cards face up. For a harder game, add pairs, include similar-looking family members, increase the space between cards, or ask players to say the person’s name before collecting a match.
If a child repeatedly turns over extra cards, keep the response light. A simple rule such as “Two cards wake up on each turn” is easier to remember than a long correction. You can also give each player two small counters to place beside the cards they turn; once both counters are used, the turn is complete.
Try a variation after the first game
- Photo-to-name matching: Replace one card in each pair with the person’s printed name. Gryphon House suggests matching names with faces as an extension to its photo activity.
- Then-and-now pairs: Match a relative’s baby photo with a current photo. Keep clothing or background clues distinct enough to prevent frustration.
- Family reunion game: Make several small sets for tables, then let guests trade sets after each round.
- Vacation memories: Use landmarks, meals, animals, and funny moments from one trip.
- Travel mini-game: Print smaller cards and carry only three or four pairs in a pouch. Count every card before leaving the play area.
- Storytelling match: After finding a pair, the player shares one memory or fact about the person or place.
- Paper-character follow-up: Turn duplicate family figures into a separate storytelling activity using ideas from these printable paper puppet projects.
Use family or classroom photos thoughtfully
At home, choose pictures the family is comfortable printing, carrying, and potentially losing. Avoid adding full names, addresses, school details, or other unnecessary identifying information to cards that will travel outside the home.
In a classroom, teachers should follow their school or district process for photo permissions, storage, and classroom displays. FERPA treatment of a photo is context-specific; the U.S. Department of Education notes that relevant questions include whether the image is directly related to an individual student and whether it is maintained by the school. Read the Department of Education’s photo and video FAQ rather than assuming one rule automatically covers every activity.
If student photos are not approved, the game can still feel personal. Invite children to contribute drawings of family members, use photos of classroom objects, match pets with their names, or create pairs from non-identifying icons. A classroom-community version might feature the reading corner, art shelf, class plant, playground slide, and other familiar places without showing children.
Fix common problems quickly
| Problem | Likely cause | Quick fix |
|---|---|---|
| Pictures show through | Paper or backing is too translucent | Attach the full sheet to opaque cardstock before cutting |
| Photos print too dark | The original image is dim or the print setting is unsuitable | Brighten a copy slightly and print one test card before reprinting the sheet |
| Cards bend during play | The material is too light for repeated handling | Mount the sheet on supported cardstock or reinforce it with a backing layer |
| The game feels too difficult | There are too many pairs or the images look similar | Remove pairs and use more visually distinct photos |
| Cards are easy to identify from behind | Backs, cuts, or glue marks differ | Use one full-sheet backing and trim all cards with the same method |
| A pair keeps disappearing | The set lacks a storage routine | Count the cards and return them to a labeled pouch immediately after play |
| Student photos cannot be used | Permissions or policy do not support the project | Substitute drawings, objects, pets, places, or non-identifying picture cards |
Start with six photos, not a perfect craft production
The simplest successful version uses six clear photos, two copies of each, and one identical opaque back. Print a test page, check that the subjects are recognizable, and play the first round with fewer pairs if needed. Once the game works for your child or group, you can add names, memories, new relatives, or seasonal expansion packs without rebuilding the original set.