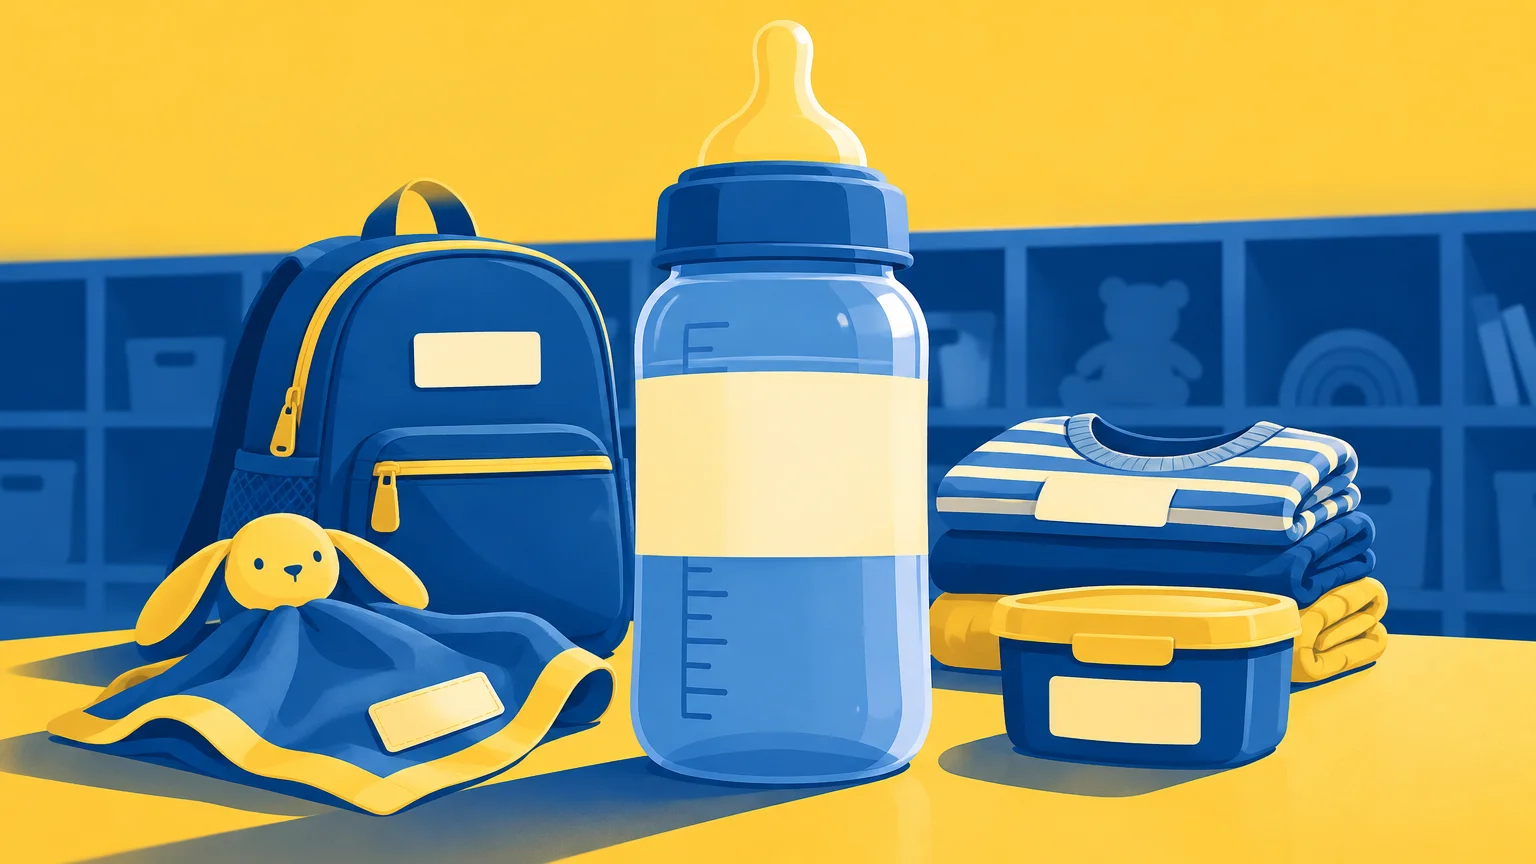
TLDR: The easiest system for daycare labels bottles bags clothes is to use two distinct label types. Put durable ownership labels on belongings that travel back and forth, then use fresh writable labels for bottles or food that require dates, preparation times, or other daily details. Ask your daycare for its exact rules before printing a large batch.
Daycare labeling becomes much easier when one little sticker is not expected to do every job. A name label answers “Whose is this?” A daily feeding label answers “What is this, and when was it prepared?” Keep those jobs separate, make every label easy to read, and test the material on one item before labeling the whole daycare stash.
Start with two kinds of daycare labels
Use permanent or long-wearing labels for bottles, cups, lunch containers, bags, shoes, coats, spare-clothes pouches, and comfort items. These labels remain useful from one day to the next because the ownership information does not change.
Use temporary writable labels when the information changes daily. Infant bottles are the most important example. Child-care guidance advises families to look for bottles that are clearly labeled with the child’s name and date, but the exact required fields can vary by center and local licensing rules. ChildCare.gov’s family child-care guidance offers a useful starting point, while your center’s handbook should provide the final instructions.
| Label job | Good uses | Information to include | Useful format |
|---|---|---|---|
| Durable ownership label | Bottles, cups, containers, bags and other reusable gear | Child’s name, plus an optional classroom or icon | Printed film label or another product made for the surface and cleaning routine |
| Daily care label | Human-milk, formula or food containers when required | The center’s required name, date, time and contents fields | Writable removable label or center-provided tape |
| Clothing label | Coats, hats, shoes, bedding and spare clothes | Child’s name or the identifier approved by the center | Fabric label, iron-on label or laundry marker |
| Pouch label | Bag holding a complete change of clothes | Child’s name, clothing size and contents | Durable exterior label or protected tag |
| Visual cue | Frequently confused cups, cubbies or bags | Simple icon or color paired with written identification | Small printed symbol used consistently |
A color or picture cue can help a young child recognize a familiar item, but it should supplement the written name rather than replace it. Staff members still need an unambiguous identifier.
What should you label for daycare?
Begin with anything that leaves your home, enters a shared room, gets washed, or could be separated into multiple parts. You probably do not need to label every sock on the first evening. Cover the high-priority items first, then expand the system based on what your daycare asks families to bring.
Bottles and feeding gear
- Each bottle or feeding container
- Reusable water cup or straw cup
- Lunch box and reusable food containers
- Insulated bottle or lunch bag
- Removable lids, caps, collars or other parts if the center asks for separate identification
- Breast pump cooler or milk storage bag when it enters the center
Bags and daily supplies
- Backpack, tote or diaper bag
- Spare-clothes pouch
- Diaper cream, sunscreen or other permitted personal-care items
- Reusable wet bag
- Nap bedding or sleep sack
- Pacifier case or other approved comfort-item container
Clothes and comfort items
- Coats, sweaters and hats
- Shoes and boots
- Mittens and rain gear
- Blankets or approved comfort items
- The spare outfit, especially commonly misplaced pieces such as pants and sweatshirts
A labeled pouch can reduce the need to mark every tiny spare item immediately. Write the child’s name, current clothing size, and a short contents note on the pouch. Label the larger or more valuable individual pieces inside, then see what the center expects for socks and undergarments.
Follow the daycare’s bottle-label rules exactly
Bottle labeling is not the place to rely on a generic template. According to Caring for Our Children Basics guidance, containers of human milk should be labeled with the infant’s full name and date. Prepared or ready-to-feed formula bottles should include the child’s full name and the preparation time and date. State or territorial licensing requirements may also apply.
Your daycare might request additional information, such as the contents, number of ounces, date milk was expressed, classroom, or feeding sequence. It may also specify whether every cap or lid needs a label. Copy the center’s required fields in the same order on every bottle so staff can scan them quickly.
A practical bottle can therefore carry two labels: a durable ownership label with the child’s name and a temporary daily label with that day’s required feeding details. Do not assume the permanent name sticker replaces the dated label.
A simple daily bottle layout
- Child: Full name if required
- Date: Day the bottle will be used or the center’s specified date field
- Prepared: Time and date when required
- Contents: Human milk, formula, or the center’s requested description
- Amount: Include only if requested
Leave enough blank space to write clearly. A cheerful border is fine, but not if it squeezes the date and time into tiny handwriting.
Match the label to the item and cleaning routine
A label that works on a dry backpack tag may fail quickly on a curved bottle that is washed every day. Material claims also matter: “water-resistant” and “waterproof” are not interchangeable descriptions. Manufacturers distinguish between levels of resistance, so check the stated material properties and care directions rather than choosing by color or design alone.
Smooth bottles and containers
Look for labels specifically described for the item’s material and expected cleaning method. Some purpose-made durable film labels are sold as dishwasher- and microwave-safe, but that specification applies to the named product rather than every printable label or every container.
Wash and dry the surface, apply one test label, and follow the manufacturer’s application instructions. Test it through the same hand-washing or dishwasher routine you intend to use. If the corners lift, ink smears, or the label slides on a curved area, switch the material or placement before making the full set.
Backpacks and soft bags
Use a protected luggage-style tag, a label on a smooth interior panel, or a product intended for fabric. Avoid putting unnecessary personal information on the outside of a bag. A first name with last initial may be sufficient for some groups, while another center may require a full name. Ask before deciding.
Clothing and bedding
Choose a laundry marker, fabric label, sew-in label, or iron-on product suited to the garment and its care instructions. Check that an iron-on option is compatible with the fabric before applying heat. For shoes, place a suitable label on a clean, dry area where feet and socks will not rub it constantly.
If you want to build a matching label sheet, this guide to creating labels for kids covers the basic planning process. Families ordering rather than printing can also create custom daycare name stickers for smooth reusable belongings, provided the selected material matches the intended surface and washing routine.
Make labels readable at a glance
Daycare labels are working tools. Staff may need to identify a cup in a busy room or check several bottles in quick succession. Design for that moment, not only for how the sheet looks on your computer.
- Put the child’s name in the largest type.
- Use dark text on a light background or another high-contrast combination.
- Choose a plain, open typeface instead of thin script.
- Keep daily writing fields large enough for dates and times.
- Use the same icon and color across the child’s belongings.
- Avoid phone numbers, addresses and other unnecessary details on visible exterior labels.
- Print one sample at actual size before producing the whole sheet.
For toddlers, an easy icon such as a yellow sun, green frog, or red apple can support recognition. Use one icon consistently rather than assigning a different picture to every object.
A worked Monday daycare setup
Imagine a fictional child named Maya whose center requires her full name, the date, preparation time, contents, and amount on formula bottles. Her family could prepare the following system, adapting every field to the center’s written policy:
- Place a durable “Maya Chen” ownership label on each reusable bottle body.
- Add the center’s required temporary label to every prepared bottle, leaving room for the date, preparation time, contents, and amount.
- Label separate caps or collars if the center requests it.
- Mark the insulated bottle bag with Maya’s name on a protected interior tag.
- Pack one spare-clothes pouch labeled “Maya Chen, size 2T,” with its contents listed.
- Label the coat, shoes, sleep sack, and any permitted comfort item.
- Check every temporary bottle label for complete and readable information before leaving home.
That sounds like a long list, but most of it is one-time setup. On an ordinary morning, the changing task is simply completing and checking the required daily feeding labels.
Common labeling mistakes to avoid
- Using a permanent name sticker as a substitute for required dated bottle information
- Printing a universal bottle template before reading the daycare handbook
- Using ordinary paper stickers on belongings that will be washed
- Applying labels to damp, oily or textured surfaces without testing adhesion
- Choosing decorative script that is difficult to read quickly
- Forgetting detachable pieces when the center requires them to be marked
- Putting excessive personal information on the exterior of a bag
- Printing a full sheet before checking the label at actual size
- Sending spare clothes that no longer fit, even though the pouch is beautifully labeled
Inspect labels during the first week and then as part of the regular packing routine. Replace any label that is peeling, faded, smudged, outdated, or difficult to read. Update clothing sizes and classroom details as your child grows or changes rooms.
Your low-stress first-week checklist
- Read the daycare’s current family handbook.
- Ask for a written list of required bottle fields.
- Confirm whether lids, caps and separate components need labels.
- Choose one visual style for all ownership labels.
- Test one bottle label and one clothing-label method.
- Prepare and label a complete spare-clothes pouch.
- Keep blank daily labels and a suitable pen near the bottle-preparation area.
- Add a label check to your evening or morning routine.
- Recheck spare-clothing sizes every few weeks and after seasonal changes.
Keep the system simple
Label reusable travel-and-wash items once, then refresh temporary labels whenever the daycare requires changing feeding or food information. That single distinction prevents most mix-ups: durable labels identify ownership, while daily labels communicate care details.
Your next step is wonderfully small: request the daycare’s labeling rules, gather the five items most likely to be mixed up, and test one label on each type of surface. Once those samples survive the real routine and remain easy to read, finish the rest of the set.