TLDR
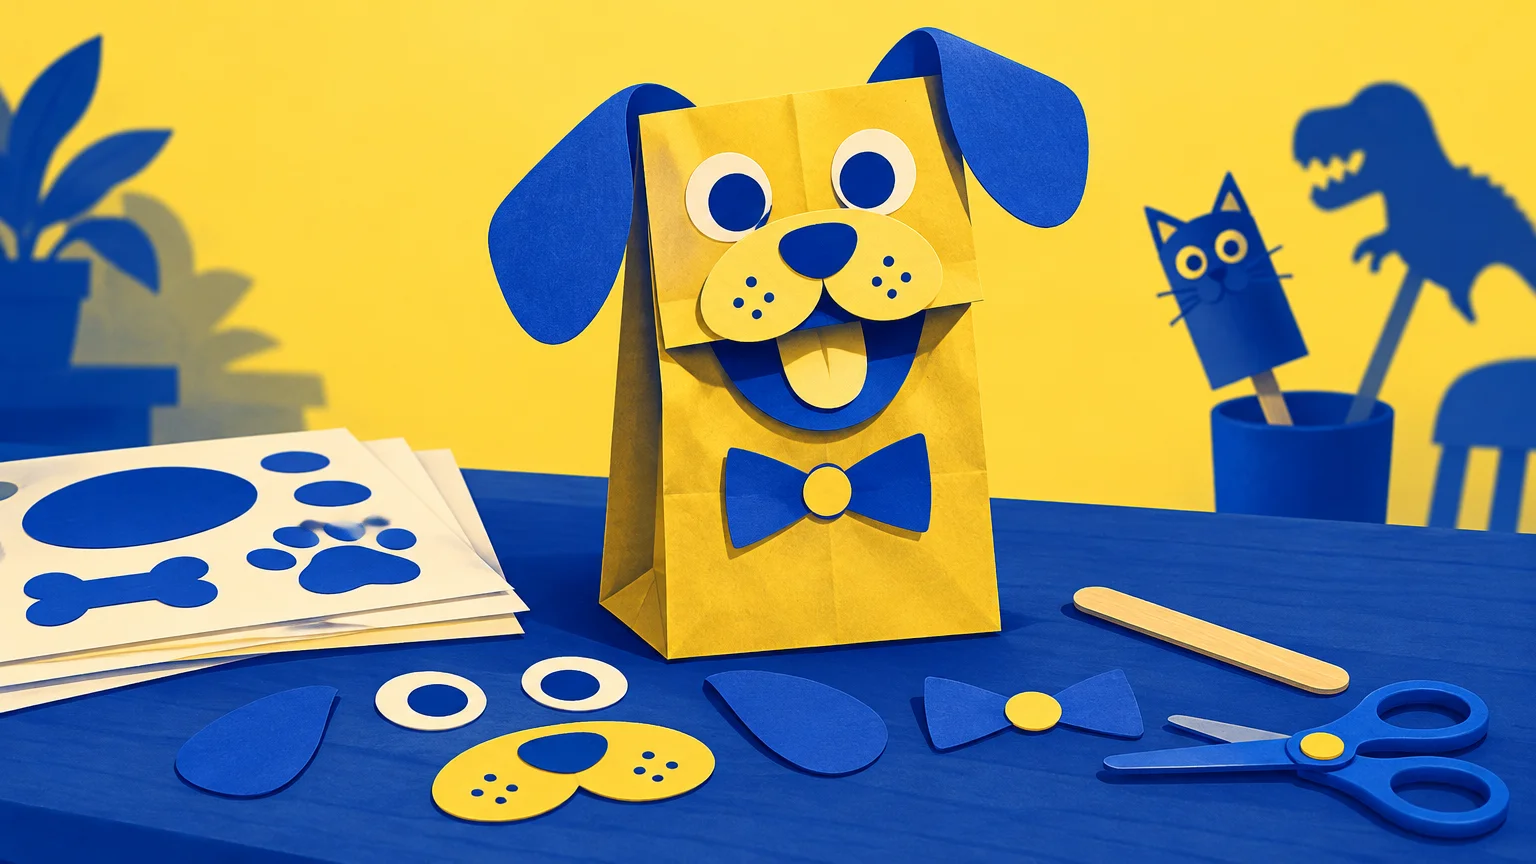
For the easiest project, print a character with a large head, face, and two or three simple details, then attach the pieces to a lunch-size paper bag. Let children color before cutting, show them where every piece belongs, and pre-cut fiddly shapes when needed. Finish with one story prompt so the completed puppet becomes a toy rather than another craft that immediately lands in a folder.
If you are searching for printable paper puppets kids can make without a complicated setup, start with the puppet base—not the fanciest character. Paper bags are forgiving for young makers, craft-stick puppets are quick for groups, and finger or shadow puppets work better when you have time for careful cutting.
The basic process is wonderfully simple: print, color, cut, arrange, glue, and play. The choices that matter are the size of the pieces, the number of layers, and what children will do with the puppet afterward. A three-piece frog prepared for a story retell will usually be more manageable than a twelve-piece frog with tiny toes, separate eyelids, and nowhere to perform.
Choose the right printable paper puppet format
Before printing, decide whether the activity needs to be a relaxed home craft, a classroom literacy task, a party station, or a puppet children can reuse. The same printable character can often be adapted to several bases.
| Puppet style | Best use | Basic supplies | Main friction point |
|---|---|---|---|
| Paper-bag puppet | Preschool crafts, expressive faces, simple puppet shows | Printable pieces, lunch-size paper bag, coloring tools, glue | Children may glue the mouth pieces to the wrong part of the bag |
| Craft-stick puppet | Classroom groups, party stations, quick story retells | One character cutout, craft stick, tape or glue | Thin paper may bend where it joins the stick |
| Finger puppet | Small-world play and compact story sets | Small printable figure, scissors, glue or tape | Small tabs and details require careful cutting |
| Shadow puppet | Silhouettes, light-themed play, dramatic stories | Simple dark silhouette, stick, lamp or flashlight | Tiny internal details disappear in the shadow |
| Folded-paper puppet | Talking mouths, jokes, partner conversations | Printable face, foldable paper base, coloring tools | The folds must line up for the mouth to move properly |
For a first attempt, I would choose either a paper-bag puppet or a single-piece stick puppet. Both formats make the character easy to hold, and neither requires complicated tabs or precise folds. Finger puppets are better saved for children who can comfortably manage smaller cutting and gluing areas.
Supplies for printable paper puppets kids can assemble
Most versions need only a printable character, coloring tools, age-appropriate scissors, glue or tape, and a base or handle. PBS Kids for Parents uses lunch-size paper bags, crayons or markers, glue sticks, scissors, and optional construction paper or yarn for its family paper-bag puppet activity. [S2]
- A printed character with large, clearly separated pieces
- Crayons, colored pencils, or markers
- Child-safe scissors when appropriate for the child
- Glue or tape suited to the chosen puppet format
- A lunch-size paper bag, craft stick, folded paper base, or other handle
- A finished sample or an unglued placement example
- One simple story prompt for play after assembly
Optional decorations can add personality, but they should not turn a short activity into a supply hunt. Children can draw buttons, spots, eyelashes, scales, badges, or clothing patterns directly onto the paper. For a party or group project, name stickers can help keep similar puppets from getting mixed up. Adults planning a larger customized activity can also explore professionally printed options from Custom Stickers [C1], but ordinary paper labels or handwritten names work perfectly well for a small group.
A simple print-and-assemble workflow
A little preparation prevents most puppet problems. Do not begin by distributing glue. First make sure the printed pieces, puppet base, and assembly plan actually fit together.
- Choose a simple character. Look for a large head or body, a clear outline, and only a few separate features. Avoid tiny accessories unless an adult plans to cut them.
- Print one test page. Check that no pieces are clipped and that the main character fits the intended paper bag or stick. Template page formats vary, so use the print settings supplied with the file rather than assuming a specific paper size.
- Prepare one example. You can complete a puppet or simply arrange an unglued set of pieces on the base. The example should clarify placement without dictating every color choice.
- Color before cutting. A full printed piece is generally easier to hold than a loose ear, paw, or hat. Children can add drawn details at this stage too.
- Adjust the cutting task. Leave large outlines for children who are ready to cut and pre-cut delicate shapes for anyone who would find them frustrating.
- Arrange every piece without glue. Check the face, mouth, costume, and handle position. Take a quick look from the audience side of the puppet.
- Glue or tape the main pieces. Begin with the largest shape, then add facial features and accessories. This keeps small pieces from being hidden under larger layers.
- Allow the puppet to rest before vigorous play if the chosen adhesive has not secured the pieces yet. Use that pause to introduce the character’s name or story problem.
- Move directly into play. Give the character a line to say, a question to answer, or a tiny problem to solve.
Drawing, cutting with child-safe scissors, and puppet play are among the opportunities NAEYC identifies for young children to use their small hand muscles. [S3] That does not mean every child should complete every step independently. The adult’s job is to adjust the project so the challenge is inviting rather than discouraging.
How to place pieces on a paper-bag puppet
Place a lunch-size paper bag flat with its folded bottom flap facing upward. That flap becomes the moving upper section of the puppet’s mouth. Before gluing, slide a hand into the bag and move the flap so children can see which section opens and closes.
- Place the character’s eyes, nose, and upper face on the folded flap or above the mouth line, depending on the template design.
- If the printable has two mouth pieces, position the upper section on the flap and the lower section directly beneath it on the main bag.
- Arrange ears, horns, hair, or a hat behind the head area when that produces the intended layered look.
- Place the body, clothing, paws, or other lower details on the main part of the bag.
- Test the mouth movement one more time, then glue the pieces in the same order.
The most common mistake is gluing the complete face across both the flap and the main bag. That can stop the mouth from opening as intended. A quick placement demonstration is usually more useful than a long explanation: move the flap, point to the two sections, and let children arrange their pieces before anyone opens the glue.
Adapt the project by age and setting
For younger makers
Use large pieces, bold outlines, and as few layers as possible. An adult can pre-cut the character while the child chooses colors, adds drawn features, places the pieces, and helps press them down. A paper-bag base offers plenty of room for a face without requiring small tabs.
For early-elementary children
Keep the basic character simple but add meaningful choices. Children might design a costume, create a speech bubble, choose a setting, or write one line for the puppet. If they are making a story set, assign each character a clear role rather than filling the page with unrelated decorations.
For mixed-age families or classrooms
Give everyone the same large character shapes, then vary the optional work. Younger children can color and assemble; older children can cut accessories, write dialogue, or create scenery. This keeps the group working on one shared activity without expecting identical results.
For a party or classroom center
Limit the station to one puppet style and a small selection of characters. Put each character’s pieces in a separate tray or envelope, display the assembly order, and offer drawn-on details instead of bowls of loose decorations. A one-piece stick puppet is especially useful when time is short because children can color one shape, cut or receive it pre-cut, and attach it to a handle.
Keep cutting and small parts age-appropriate
Supervise cutting and choose scissors appropriate for the child and setting. Pre-cut pieces when a shape demands more control than the child can comfortably manage. The goal is not to remove every challenge; it is to prevent one difficult ear or narrow tail from taking over the whole activity.
Avoid loose small decorations in activities for children under 3. The U.S. Consumer Product Safety Commission states that small parts can present choking, aspiration, or ingestion hazards to children under 3. [S5] Draw on details or use larger paper shapes instead of loose eyes, beads, sequins, buttons, or similarly small add-ons.
Also check the work area after the craft. Scraps that seem unimportant to an older child may still be small loose pieces. Keep unused materials and completed puppets appropriate for the ages of the children who can reach them.
Turn the finished puppet into an activity
A puppet becomes more valuable when the making leads directly to speaking, pretending, retelling, or problem-solving. NAEYC describes play as supporting several connected areas of young children’s development and learning, including language, social development, symbolic thinking, and problem-solving. [S4] PBS Kids for Parents also uses family paper-bag puppets to prompt conversations about feelings, care, empathy, and compassion. [S2]
- Retell a familiar story from one character’s point of view.
- Pair two puppets and give them a small problem to solve together.
- Ask an animal puppet where it lives, what it eats, or what it needs in its habitat.
- Use a puppet to practice a classroom routine, greeting, or polite request.
- Let a character name a feeling and explain what happened before that feeling appeared.
- Create a tabletop theater from an open box or by draping a cloth over the edge of a table.
- Invite each puppet to ask one question about a book, family event, or lesson.
Some children find it easier to explore a character’s feelings while holding a small figure or puppet. If that is your main goal, the ideas in Mindful Play: How Minifigs Can Help Kids Express Big Emotions [I18] can also be adapted to handmade characters.
Worked example: a three-animal puppet story set
Here is a compact plan for a roughly 20-minute activity. Treat the timing as a flexible schedule rather than a promise; detailed coloring, independent cutting, or a large group will require more time.
| Stage | Suggested time | What to do |
|---|---|---|
| Choose and color | 5 minutes | Offer three simple animals with large shapes. Each child chooses one and adds color or drawn markings. |
| Cut and arrange | 5 minutes | Children cut broad outlines while an adult handles any detailed sections. Arrange all pieces on the bag or stick before gluing. |
| Assemble | 5 minutes | Attach the largest piece first, add the face and accessories, then write the character’s name if desired. |
| Tell and perform | 5 minutes | Choose one prompt, give the pair a moment to decide what happens, and perform a brief puppet exchange. |
Try three prompts: “The animals find something that does not belong in their habitat,” “Two animals want the same cozy spot,” or “One animal is nervous about meeting a new neighbor.” Each prompt supplies a beginning without writing the entire story for the children.
For a pair performance, ask each child to give the puppet one introduction and one response. That is enough structure to get the scene moving without requiring a polished script. If time runs out, place the prompt and puppets together so the story can continue later.
Troubleshoot common puppet problems
| Problem | Likely cause | Practical fix |
|---|---|---|
| The mouth does not open properly | Pieces cross the paper-bag flap | Lift any unsecured pieces, demonstrate the moving flap, and reposition the upper and lower mouth sections. |
| Setup takes longer than the activity | Too many characters, pieces, or decoration choices | Offer fewer designs, pre-sort each set, and reduce the puppet to its main silhouette and face. |
| The printout tears | A narrow area is carrying the weight or receiving too much glue | Use less adhesive, simplify narrow details, or add a second paper shape or tape at the handle connection. |
| Children are frustrated by cutting | The outlines are too detailed for the group | Pre-cut intricate sections and let children handle broad curves or straight lines. |
| Pieces keep disappearing | Several character sets are mixed together | Place each set in its own tray or envelope before the activity begins. |
| The puppet is finished but nobody plays with it | The activity ends at assembly | Introduce a story problem, partner question, or character line before cleanup begins. |
If you want the puppets available for another session, store each character with its prompt or script instead of separating the craft from the play plan. Stick puppets can go in labeled envelopes, while paper-bag puppets can be grouped by story or theme in a larger folder or bin.
Start with one character and one story problem
The most successful printable puppet project does not need the most elaborate template. Choose one format that suits the children, reduce the number of pieces, prepare a clear assembly preview, and decide how the character will be used before you print.
For an easy first project, make a paper-bag animal with a head, two ears, and one lower-body piece. Arrange everything before gluing, test the moving flap, and finish with a prompt such as, “What did this animal discover on the way home?” That small extra step turns a printable craft into a storytelling activity children can keep using after the scissors and glue are put away.